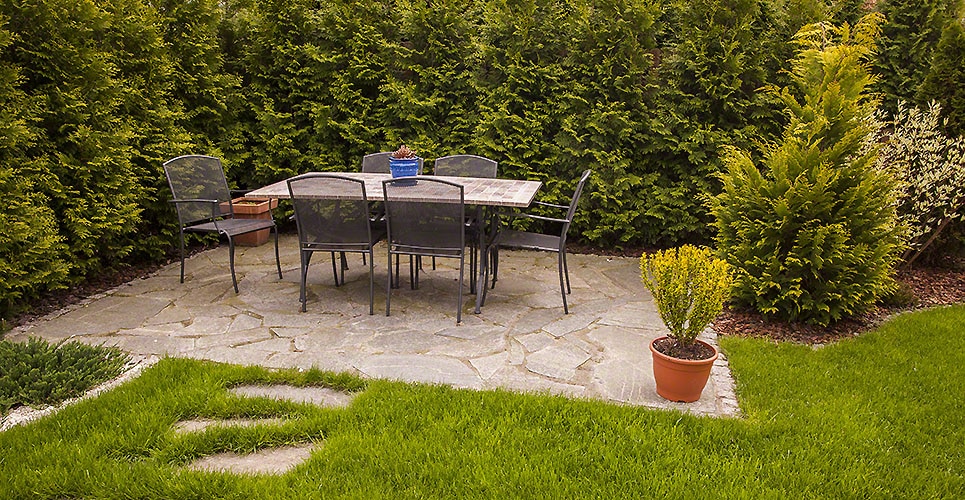
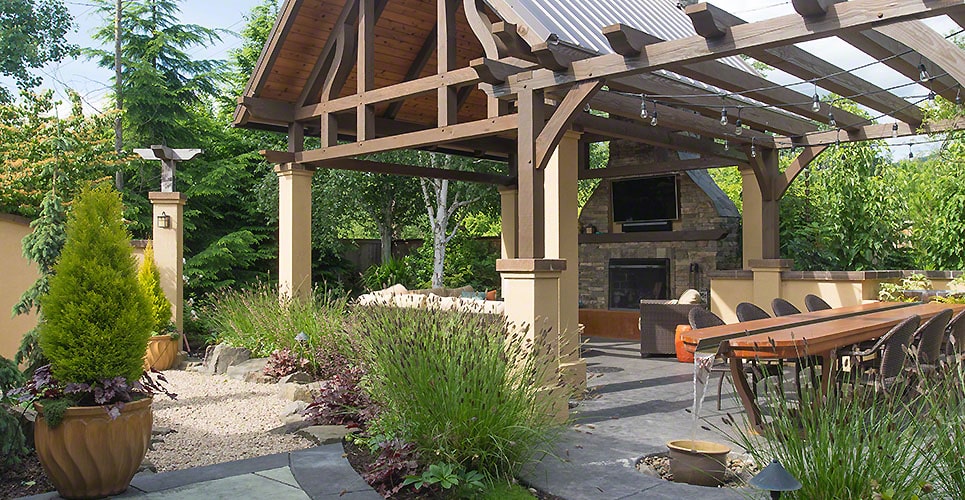
When it comes to building a gravel patio, pea gravel is the most preferred choice for many. Not only is the project easy to complete but the maintenance is a breeze as well. If you want to build an average-sized patio area, you can get the job done by spending very little money and a day or two of work by a backyard patio builder. In the end, you get a gorgeous and graceful patio that adds a natural touch to the house. Let’s take a look into how you can make one for yourself.
The Basics Of Pea Gravel Patio
The most important factor in creating a pea gravel patio is the pea gravel itself. It is very easy to work with and in fact, you shall enjoy the outdoor design project. As compared to other hardscaping materials such as concrete, poured concrete, and natural flagstone that is solid yet expensive and can be technically challenging to install, pea gravel is a piece of cake.
Furthermore, as the name suggests itself, pea gravel is basically 3/8-inch diameter peas. They are round and smoothly finished eliminating the chances of footprints, which is the opposite case with gravel featuring angle sides.
Pea Gravel Project Details
We are going to assist you in creating a pea gravel patio that is 16 x 16 x 2 ft. You can change the dimensions according to your patio’s size. Furthermore, you need to know that pea gravel is loose and tends to shift as people walk over it, you will need to create a wooden frame with pressure-treated lumber or landscape timbers in order to contain it.
Instructions
Step #1 Select The Space For Patio
The first thing you need to do is select a place for gravel. Steep places will not work in such cases. Since pea gravel tends to be smooth and rounded, its repose angle can be as low as 20 degrees. At steeper pitches, it will begin to shift. Furthermore, heavy foot traffic will also disturb the gravel and create a mess as a result. Lastly, if the area has an unusual amount of water going through, it will also wash away the gravel.
Step #2 Order The Gravel
Look for and order pea gravel from a local supplier. In this case, you will require 1.58 cubic yards of pea gravel. Remember that a depth of 3-inches will make it difficult to walk over, while a depth of 2-inches will become exposed after a while. Therefore, you should order an amount that also compensates for any gravel loss over time.
Step #3 Excavate The Area
Then, clear or excavate the area by using a shovel to remove rocks, vegetation, and debris from the patio area. The timber frame needs to be excavated as well, therefore, make sure that you properly clear it before adding gravel. Next, rake the soil to level it then walk repeatedly over it or tamp it using your hand so that it can compact.
Step #4 Lay Out The Frame Timbers
Now arrange the eight landscape timbers to create a 16-foot square. At the corners, overlap the timbers so that the one end of a timber butts up against the neighboring timber. When you are done laying out the timbers, make sure that each side has one overlapping and one butted end. As a result, you will get the perfect square.
Step #5 Square & Secure The Timbers
Square and secure the timbers by measuring each corner and adjusting them accordingly. Once the timbers are exactly where they should be, secure them by drilling. Drill three ½-inch holes in each timber. Once in the center and one from a few inches from each other. Then, using a hand sledge drive a 12-inch length of #4 rebar into each hold to secure the timbers.
Step #6 Add Gravel
Install landscape fabric and make sure to pin it from all ends. Then, pour the gravel ensuring that you do not tear or damage the fabric with your shovel or feet. Continue adding gravel until you achieve the desired depth. Finally, using a rake, smoothen, and level the surface.
Final Word
And there you have it. Installing a pea gravel patio was never a complicated process. Just make sure that you get the frame of the right size and install it properly to prevent any leaks or let a patio contactor Long Island do it. Then, sit back and be proud of what you have achieved in a day or two.


